← Blog20 min read
Educators: Use the Jamstack Part 2
Next.js is a library for the React JavaScript framework. It simplifies a lot of things for people that are new to building sites in JavaScript. Probably the thing I like about it the most is how quick you can get a multi-page site up and running. Depending on the logic, data fetching, and page count, you can sometimes get a proof of concept up and running in under a day. This seems absurd. Alright, so let's get into it. In this article, we are going to build a site with dynamic routing. Dynamic routing is something that Next.js can do for you. It allows you to create pages on the fly - you don't have to build out a separate page for each route. We are going to build a site for choosing hex colors. You can see the site working here and if you want the final code, I have a GitHub repo for you. The site builds a new page for each color that is entered, dynamically. These pages don't exist until a user navigates to them.
What is Next.js
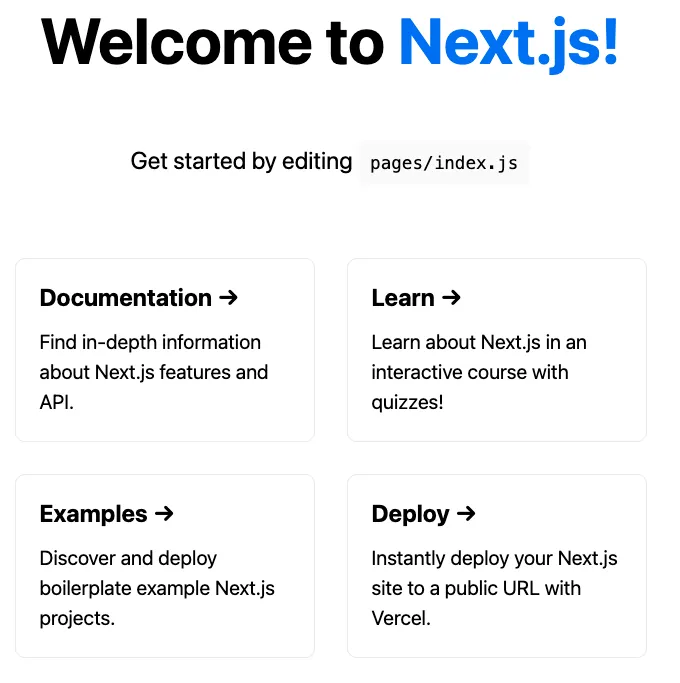
Next.js is a library for the React JavaScript framework. It simplifies a lot of things for people that are new to building sites in JavaScript. Probably the thing I like about it the most is how quick you can get a multi-page site up and running. Depending on the logic, data fetching, and page count, you can sometimes get a proof of concept up and running in under a day. This seems absurd.
Alright, so let’s get into it. In this article, we are going to build a site with dynamic routing. Dynamic routing is something that Next.js can do for you. It allows you to create pages on the fly - you don’t have to build out a separate page for each route. We are going to build a site for choosing hex colors. You can see the site working here and if you want the final code, I have a GitHub repo for you. The site builds a new page for each color that is entered, dynamically. These pages don’t exist until a user navigates to them.
Time to Build
So you’re still here, meaning you’re ready to create something new. You will need some understanding of HTML, CSS, and JS before getting started. We will be using React to build this site, but I’ll explain what you need to know as we go along. In addition, you’ll need to have a code editor, VS Code is my preference, a terminal window, and an account with Vercel. We will deploy the site to Vercel at the end. There are other places, for example GitHub Pages and Netlify, but I’ll let you explore the other deploy and hosting options on your own. Here’s your checklist:
- Code editor
- Terminal (with npm installed)
- Accounts with Vercel and GitHub
Setting Things Up
To get started, open up your terminal window. You want to change to a folder that will keep your projects. I use the same folder for all of my projects that get deployed to GitHub. Once you get there, enter the following npx create-next-app my-project-name . This will create a new project folder named ‘my-project-name’ and put all of the files in the right place for you. Next thing we want to do is open up the files. You want to open up the project folder you just created. What I usually do since I’m using VS Code is I run the command to open the files and start the local server for the project using code . && npm run dev on the command line in my terminal.
Once you get it open, you should see how the file structure is set up. It’s really nice not having to worry about that. Alright, so now we’re ready to clean some things up. We are going to navigate to index.js which is in the pages folder. This is the page that loads when a user goes to the root directory for the site. There’s a good bit of useful things here, but also things we don’t need. Most of the content is going to be eliminated.
You want to get rid of everything in the main section until it looks like the code shown below.
Ready for Content
So now we’re ready to start adding content. We’re going to use the heading, paragraph, and div tags that were left to put in the heading for the site, some basic instructions, and to include a form for users to use.
Heading - I used ‘Welcome to Hex Color Picker’ for mine, but feel free to change it up!
Paragraph - for the instructions, I used ‘Get started by typing in a color below. Examples include: red, #fff, #ffa599, etc.’
Then, let’s get into the form. Go ahead and check out the form code in the repository.
Notice that there is a comment for the onSubmit. We haven’t added an onSubmit function yet, so for you to see the form appear without error, we just use a comment to remind ourselves to go back and put one. The page looks a little rough, so we need to go into our CSS and do some styling to make it look better.
Styling the Site
To get to the styles for the site, there are 2 CSS files that have been created. They are located in the styles folder. The globals.css file applies to all pages that have been created. The Home.module.css file is imported on the index page and this one is the one that needs to be changed for it to make changes.
When looking at it, you should notice there are no classes for buttons or forms, so we’ll add those in. Here is the CSS for the button and the form. Feel free to style it however you want to.
The other thing that I changed up was how the card looks. This is entirely up to you as it doesn’t change how the site works. The text-align for the card is changed to center, the max-width is changed to 500px, background-color is changed to white, and for the card:active pseudoclass, the color is removed.
What About Submitting the Form
So up to now, we’ve done everything except for making the form work. The way the form will work, is when a user submits something in it, the form will check if the color matches a correct syntax, either text, 3 digit hex, or 6 digit hex. If the user has entered the correct syntax, then the form should route the user to a page that has the background color of the page set to that color.
This code is going to be inside the Home() function but outside of the return statement - so before it. Go ahead and add some space before the return statement. Let’s talk about the form submit.
So a few things are happening here. First you notice that we are using the Next.js router. That means you will need to add an import statement at the top of the code:
import { useRouter} from 'next/router'Then, the function uses regex to determine if the user typed in the correct syntax. If the user does not type in the correct syntax, then the return route is going to be a white background and not a colored background. If the syntax checks out, then the router will push them to a route that matches the color.
One caveat here is that if they type in a text color, like red or white, then there is an extra function you can add to map the color to the correct hexadecimal. Reminder that a copy of this index page is in the GitHub repository.
Creating Dynamic Routes
Next.js does a great job with route handling, even when the route doesn’t exist yet. The only pre-rendered route on this site is the index page. All other routes and pages are rendered when requested.
To make this work, you will make a special folder for dynamic routes and then create only one file in there as a template. This template will serve as the base for all pages going through this dynamic route. In the pages folder, create a new folder with brackets around it. The one I’m using is called [color_code]. In this folder, create a new file, index.js, inside it. When using the square brackets, this tells Next.js that this is a route that can be anything. Now we are only calling this route if it’s an acceptable hex color code. So we’re controlling the logic for accessing this before any user goes to the route.
Now, the index.js file is going to look almost identical to the one we just made. Go ahead and make a copy of the index.js page we’ve been working on. In this copy, here are the changes we’ll make:
- heading - there is no heading/title anymore
- paragraph - no need for user instructions anymore
- background color needs to change.
The background color change requires the most work. First wrap all of the JSX that you are returning with <> before and </> after. Then under the <> you will add the line of code:
<div style={{ backgroundColor: bgcolor, height: '100vh', marginTop: -20, padding: 50 }}>
This will change the background color based on the background color that you have typed into the form. If this is confusing you can always see what this page should look like.
Test out your application and see if there are any bugs!
Ready to Deploy
Alright, once you’re done and ready to make this thing go live you will need to upload your code to GitHub. I use the command line for my git flow, so you’ll have to decide how you want to get your code there. There are a few options.
Then, once you get it online, you can use your Vercel account to create a new project. With your new project you can link it to your GitHub repository and let Vercel do all the work. Deployment may be one of the easiest steps to all this.
Hey, you just built something new! Give yourself a pat on the back. You dived into Next.js, a bit of CSS, using regex for form validation, and dynamic routing. That’s awesome!